J2Ski logo J2Ski logo
Login Forum Search Recent Forums

Snoworks Course Diary Day 1 (Monday)

Snoworks Course Diary Day 1 (Monday)

Login
To Create or Answer a Topic

Started by Admin in France - 5 Replies

Latest images on this Topic...

Admin posted Dec-2018

Tignes, France, December 2018.

This was a great example of what can be done with a little (ok, a lot of) resort knowledge, courtesy of the Snoworks instructors, in somewhat challenging conditions.

The day started early, with the previous days howling winds rattling the resort and the reverberations of early avalanche blasting above the town.

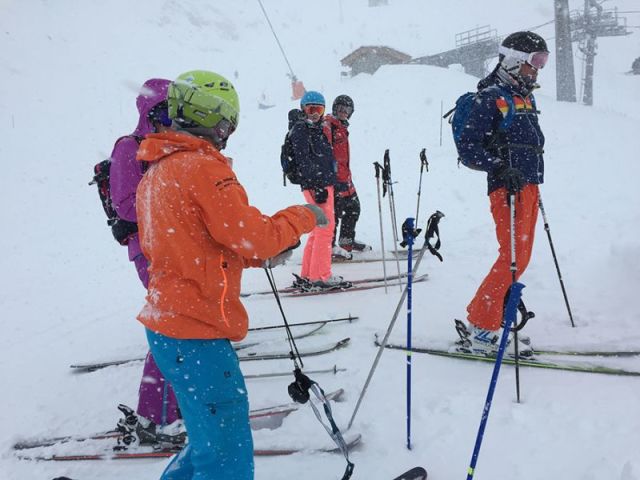
It was clear nothing was going to be open early, so Snoworks took the opportunity to de-camp once again to Cafe Flo for a safety briefing, videos and presentation from Nick (Off Piste Safety instructor for the day).

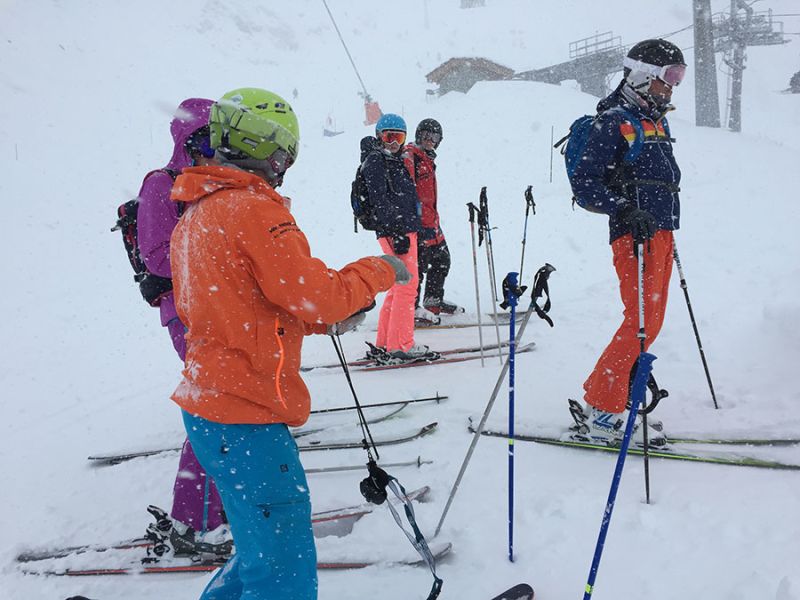
Mid-morning we got news that a couple of lifts would open from 11:00 so it was time to make a start with the Off Piste group, led by Lee.


Off-Piste Course Morning 1 (with Lee)


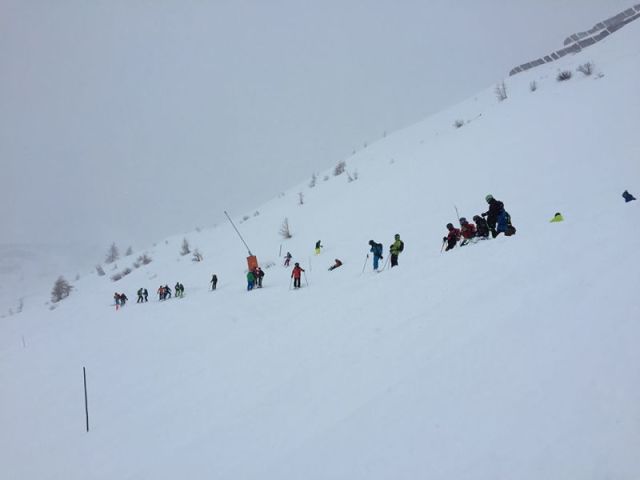
With limited time, this lesson was half length but we still managed several laps of the powdery side-piste accessed from the Paquis chair, and a run down the equally powdery lower section of the Trolles black. Fair to say conditions were pretty hostile with strong winds and horizontal heavy snow.


Following a transceiver check, and a short intro we were straight into a race to see who could remove their backpack and assemble shovel and probe quickest. I wasn't slowest but lost 30 seconds or so as my probe got tangled in its carry bag.


Lesson Learned - leave the carry bag at home, and have the probe easy to access in the pack! 30 seconds doesn't sound much but it gets significant when someone you know is running out of oxygen!


Off-Piste Safety Afternoon 1 (with Nick)

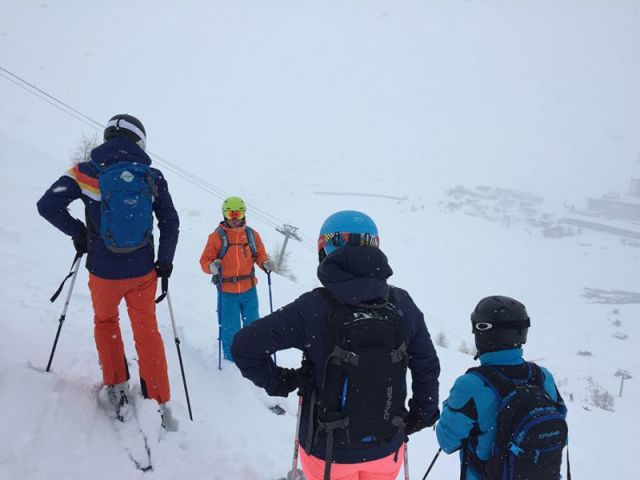
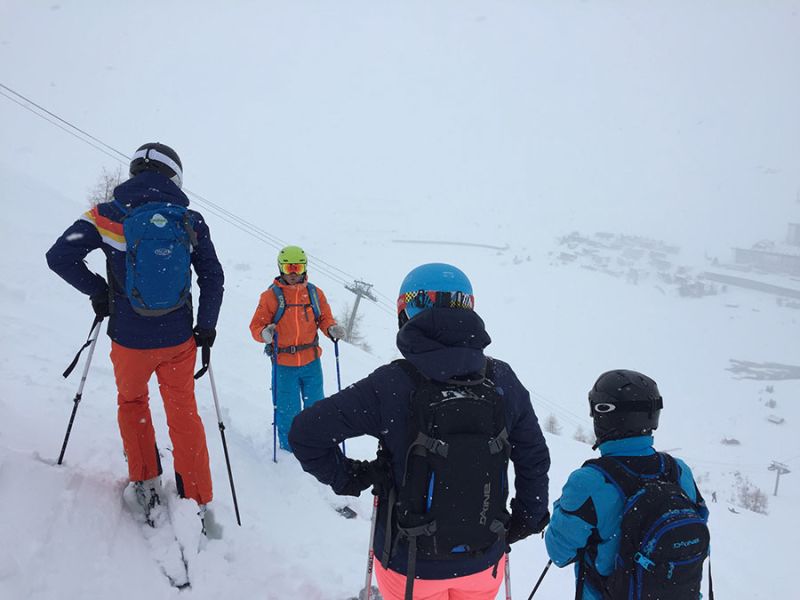
This time we left the top of the Paquis chair in the direction of Val Claret, via the Blue Henri run which was knee-deep in powder. Visibility was measured in yards at times but we navigated round the top of Val Claret and onto the Tichot chair where we proceeded to lap the powder around the Stade area. Although the overall Avalanche Risk Level was 4, our instructors considered these pitches to be relatively safe due to generally low slope angles, pisting and skier passage prior to the snow, and absence of threat from slopes above.

The powder was sublime!


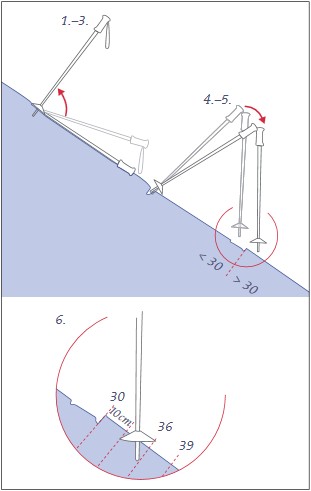
Estimating slope angles in low vis...

In between runs we ran one scenario simulating a double burial and that threw up some interesting lessons, beyond just being great practice in the conditions.

Nick placed 2 transceivers buried on a slope, some meters apart and with location hidden from the group. One of our number "assumed control" and I took the first coarse search, taking the familiar "squared S" pattern across where we'd been told to imagine the slide. I quickly picked up two signals but struggled to get a fix on them, in a howling blizzard with another group of skiers passing through our imagined debris field. As the other skiers cleared, I realised I'd been confused by transceivers they were wearing and the two signals I actually wanted were now back up the slope some way. Ugh.

But that let us pull in the next searcher from the group, and we now at least had rough locations to resume a coarse search around, and quickly found both transceivers (to the instructor's relief, having had an earlier exercise not go quite so well...).

Lesson Learned 1 - if the worst happens, get organised, appoint (or assume) a leader and filter searchers into the are one at a time.

Lesson Learned 2 - ensure everyone in the location is switched to Search, and get other skiers - not involved in the search - to clear off!


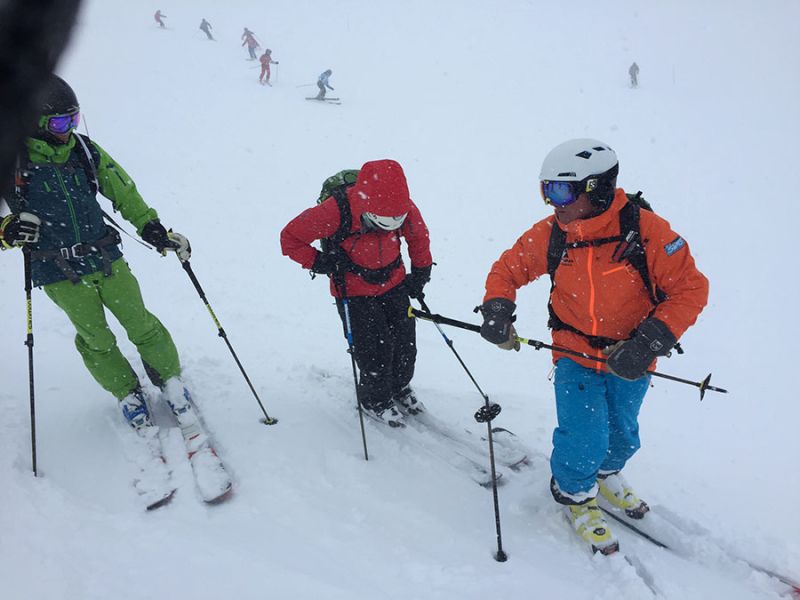
We had the chance to look at wind transport in action on yet-to-be-loaded small slopes and then traversed again through the Stade area to a completely un-tracked pitch that was getting on for thigh deep. We went back for more...

Apologies for the lack of pictures of that; my hands were cold and I was enjoying myself too much...


So, a good day - despite atrocious weather conditions and a high overall risk level, we were able to understand informed and conservative route choices (in a fairly limited environment), got some ace skiing in fabulous powder... and learned loads! Loved it. Grins all round.
The Admin Man

Edited 2 times. Last update at 18-Dec-2018

Flat country skier
reply to 'Snoworks Course Diary Day 1 (Monday)'
posted Dec-2018

Admin, many thanks for posting this, very interesting read. Estimating a slope angel, I
sort of understand it looking at the photo but please, could you explain it in more detail. Thanks!

Admin
reply to 'Snoworks Course Diary Day 1 (Monday)'
posted Dec-2018

flat country skier wrote:could you explain it in more detail. Thanks!

Ha, funnily enough - for such a simple technique - I couldn't find a simple video, so here goes...


You're first aiming to make an equilateral triangle with each side the length of a ski pole.

Plant one pole on the slope (this will be the uphill pole) -> |

Making sure the tip stays in the same place, lay the pole down along the fall-line (i.e. down the slope). Your pole is now flat to the snow, with the tip uphill where you originally planted it.

Plant your second pole (downhill) where the handle of your first pole extends to, and lift the uphill pole back to vertical. Your two poles are now planted at a distance of one pole apart -> | |

Without relocating the tips, tilt the poles toward each other so the handles touch. Et voila, an equilateral triangle.

We know the internal angle at each corner is 60 degrees, so you can now easily tell if the slope is greater or shallower than a common avalanche tipping point (beyond which slides become much more likely) of 30 degrees.

If your downhill pole is vertical (handles still touching) then the slope is 30 degrees; if it's sloping in then the slope is less than 30 degrees, and if it's sloping out then the slope angle is > 30 degrees.


To estimate the actual angle, keep the tips in place (one pole apart on the slope) and set either the downhill pole vertical OR the uphill pole horizontal - whichever is required so that the poles cross.

Very roughly, an offset of 10cm (from one pole handle to where it crosses the other pole) implies about 4 degrees difference (assuming a 140cm pole length, and that my math is right!).

A rough and ready method of estimating slope that you can use in bad visibility (you can always "find" vertical by dangling a pole from the strap).

Do we have any graphic art/design folk who could draw that for us??? :lol:

Flat country skier
reply to 'Snoworks Course Diary Day 1 (Monday)'
posted Dec-2018

Hi Admin,
Thank you very much for this. Sorry, no design skills :( Hopefully someone else will make a visual aid :)

Ranchero_1979
reply to 'Snoworks Course Diary Day 1 (Monday)'
posted Dec-2018

Is a shame that French Survey maps don't highlight slopes over 30deg in the same way that Swiss ones do. Realistically though for someone just rocking up to a ski resort you need to consider FatMap as a low effort means to be informed.

If all else fails - does this look like a black, can I count to two before putting in my first turn, are there any rollers/trigger points are probably sensible questions to ask yourself.

SwingBeep
reply to 'Snoworks Course Diary Day 1 (Monday)'
posted Dec-2018

Here you go Admin! We call it the "Pendulum Trick"


1. Find the steepest part of the slope.
2. Place a ski pole on the snow with the grip pointing down the fall line and mark the position of the basket and end of the grip.
3. Raise the pole by the grip, with the basket remaining in the snow until it is at 90° to the snow.
4. Hold the second ski pole between 2 fingers against the end of the grip on the first pole like a pendulum.
5. Lower the grip ends together until the tip of the 2nd pole touches the snow.
6. The slope angle results from the 3° rule:

30°, when the tip lands exactly on the mark
33°, if the tip is a handle length (= 10 cm) lower down
36°, when the tip is 2 handle lengths lower down
39°, if the tip is 3 handle lengths lower down

If the steepest part of the slope is selected and accurately measured, the slope angle can be determined to within ± 2°.
If you are using telescopic poles make sure they are the same length!

Alternatively, you could just use a clinometer.

There is some further information in the SLF leaflet: Caution Avalanches!
https://www.slf.ch/fileadmin/user_upload/SLF/Lawinen/Lawinenkunde_und_Praevention/KAT/20180914_Lawinenfolder_e_achtung_lawinen.pdf

Topic last updated on 18-December-2018 at 19:32